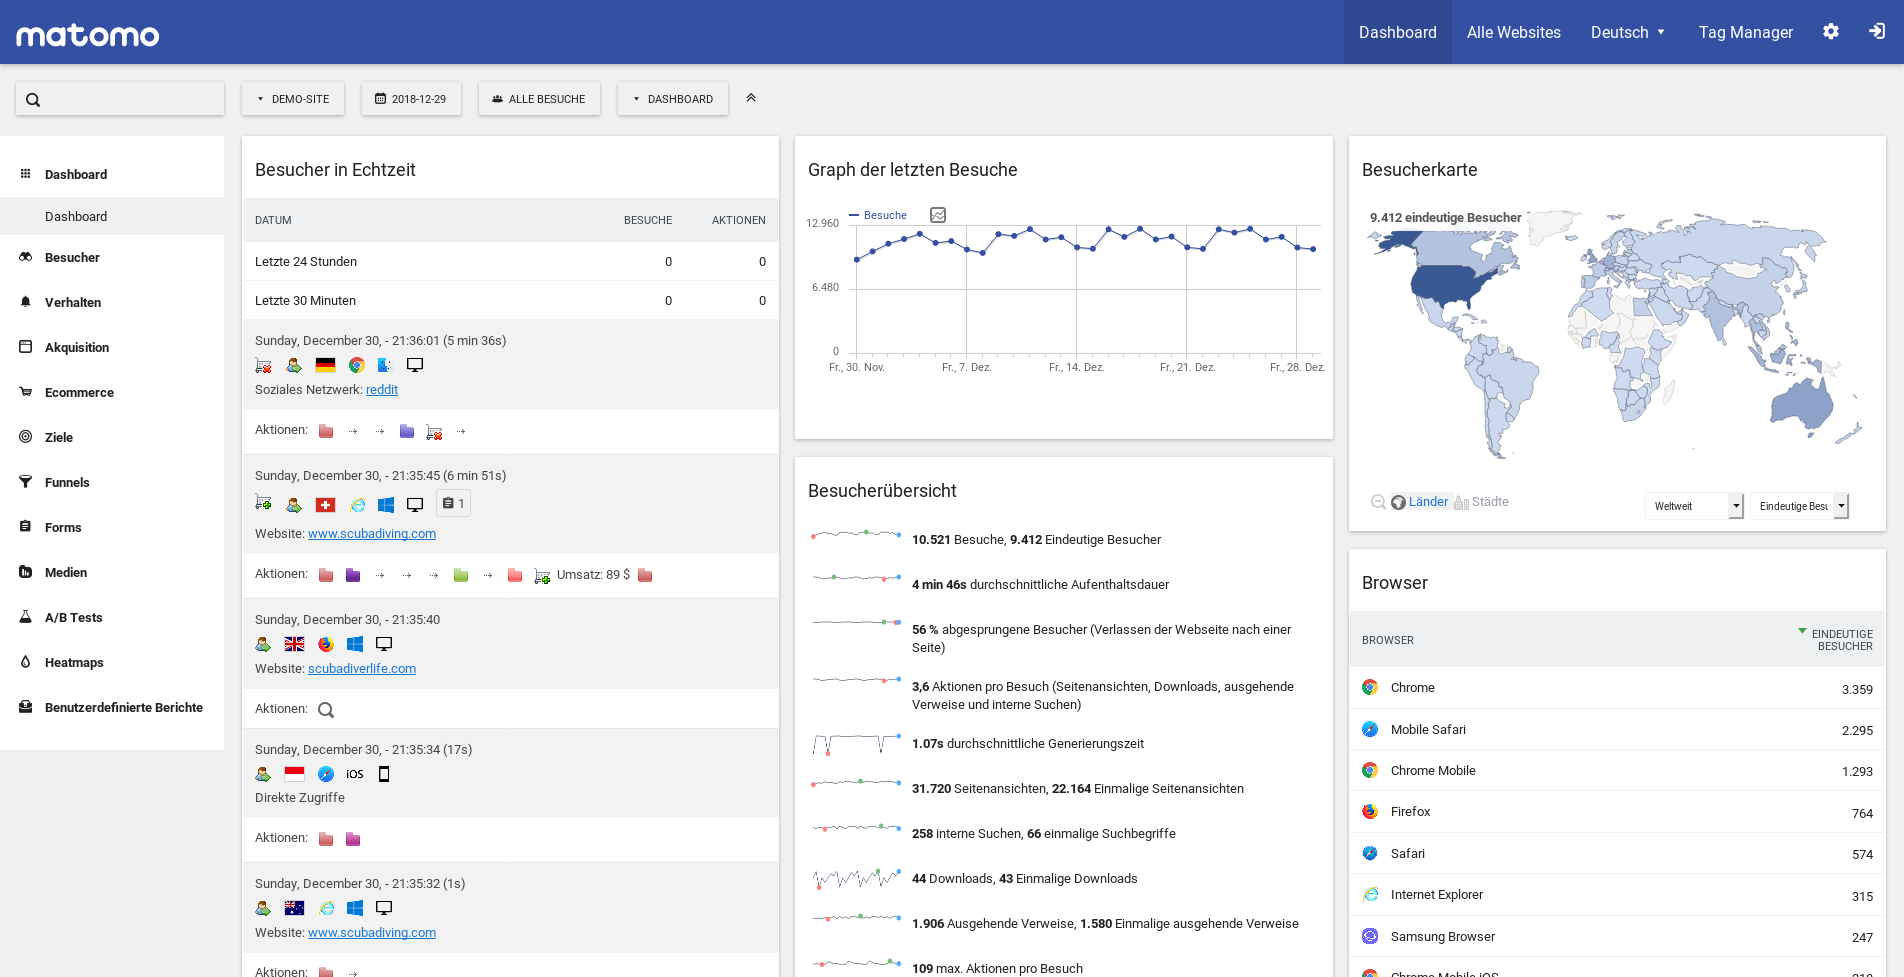
网站搭建Matomo站长统计分析工具
Feb. 17, 2021, 11:22 p.m.
什么是Matomo?
Matomo是一个信息宝库。对于那些喜欢深入研究分析的人来说,这是你的工具。在通常的分析之上,Matomo还包括热图选项,因此你可以看到你的用户在各个页面上的位置,然后使用这些信息来增加销售和转换。Matomo的团队在设置该工具时也非常有帮助,并随时提供支持。
Matomo有哪些功能?
具体可见:https://matomo.org/product-features/
1.访客档案为您提供每个访问您网站的用户的完整故事,包括他们采取的所有行动、他们的位置、浏览器和使用的设备。

2.在转换之前,了解您的访客是如何与您的网站互动的,根据你的用户对你的网站的参与度,做出数据驱动的决策。

3.回答 "在哪里、如何、何时 "的问题,创造更好的用户体验,提高转化率。了解你的访客在世界的哪个地方,哪个区域的转化率最高,以便在定位受众时做出更明智的决定。

4.其他齐全的工具,统计所有的来访用户

在Ubuntu上安装Matomo
更新软件
1.更新您的操作系统软件包(软件)。这是重要的第一步,因为它确保您的操作系统的默认软件包有最新的更新和安全修复:
sudo apt update && sudo apt upgrade -y
2.安装一些Ubuntu操作系统基本管理所必需的软件包:
sudo apt install -y curl wget vim git unzip socat
在Ubuntu上下载Matomo
sudo apt install -y curl wget vim git unzip socat
wget https://builds.matomo.org/matomo-latest.zip
下载完毕后,用解压软件解压存档:
sudo apt install unzip

sudo unzip matomo-latest.zip -d /var/www/
选项 -d 指定了目标目录。Matomo的网页文件将被解压到 /var/www/matomo/。 然后我们需要将这个目录的所有者改为www-data,这样web服务器(Nginx)就可以写入这个目录。
sudo chown www-data:www-data /var/www/matomo/ -R
安装MariaDB,在MariaDB中创建数据库和用户
Matomo 支持 MySQL 和 MariaDB 数据库。Debian团队从Debian 9开始用MariaDB取代了MySQL作为默认数据库,所以在本教程中,我们将使用MariaDB作为数据库服务器。
安装MariaDB数据库服务器:
sudo apt install -y mariadb-server
检查MariaDB版本:
mysql --version
# mysql  Ver 14.14 Distrib 5.7.24, for Linux (x86_64) using  EditLine wrapper
用以下命令登录到MariaDB数据库服务器:
sudo mariadb
然后为Matomo创建一个数据库。本教程将数据库命名为matomo。你可以使用任何你喜欢的名字:
create database matomo;
创建数据库用户。同样,你可以为这个用户使用你喜欢的名字。将 "your-password "替换为你喜欢的密码:
create user matomouser@localhost identified by 'your-password';
授予该用户在matomo数据库中的所有权限:
grant all privileges on matomo.* to matomouser@localhost identified by 'your-password';
刷新权限并退出
flush privileges;

exit;
安装Nginx,创建Nginx配置文件
使用系统二进制源方式安装:
sudo apt-get install nginx
在/etc/nginx/conf.d/目录下创建一个matomo.conf文件:
sudo nano /etc/nginx/conf.d/matomo.conf
将以下文字放入文件中。用你的实际数据替换红色的文字。不要忘记为域名设置:
server {
    listen [::]:80; # remove this if you don't want Matomo to be reachable from IPv6
    listen 80;
    server_name analytics.example.com;

    access_log /var/log/nginx/matomo.access.log;
    error_log /var/log/nginx/matomo.error.log;

    root /var/www/matomo/;

    index index.php;

    ## only allow accessing the following php files
    location ~ ^/(index|matomo|piwik|js/index).php {
        include snippets/fastcgi-php.conf;
        fastcgi_param HTTP_PROXY ""; # prohibit httpoxy: https://httpoxy.org/
        fastcgi_pass unix:/run/php/php7.2-fpm.sock;
    }

    ## needed for HeatmapSessionRecording plugin
    location = /plugins/HeatmapSessionRecording/configs.php {
        include snippets/fastcgi-php.conf;
        fastcgi_param HTTP_PROXY "";
        fastcgi_pass unix:/run/php/php7.2-fpm.sock;
    }

    ## deny access to all other .php files
    location ~* ^.+\.php$ {
        deny all;
        return 403;
    }

    ## serve all other files normally
    location / {
        try_files $uri $uri/ =404;
    }

    ## disable all access to the following directories
    location ~ /(config|tmp|core|lang) {
        deny all;
        return 403; # replace with 404 to not show these directories exist
    }
    location ~ /\.ht {
        deny  all;
        return 403;
    }

    location ~ \.(gif|ico|jpg|png|svg|js|css|htm|html|mp3|mp4|wav|ogg|avi|ttf|eot|woff|woff2|json)$ {
        allow all;
        ## Cache images,CSS,JS and webfonts for an hour
        ## Increasing the duration may improve the load-time, but may cause old files to show after an Matomo upgrade
        expires 1h;
        add_header Pragma public;
        add_header Cache-Control "public";
    }

    location ~ /(libs|vendor|plugins|misc/user) {
        deny all;
        return 403;
    }

    ## properly display textfiles in root directory
    location ~/(.*\.md|LEGALNOTICE|LICENSE) {
        default_type text/plain;
    }
}保存并关闭文件。测试Nginx的配置,然后重新加载Nginx以使更改生效:
sudo nginx -t

sudo systemctl reload nginx
安装并启用PHP模块
运行以下命令来安装Matomo需要或推荐的PHP模块:
sudo apt install php-imagick php7.2-mysql php7.2-fpm php7.2-common php7.2-gd php7.2-json php7.2-curl php7.2-zip php7.2-xml php7.2-mbstring php7.2-bz2 php7.2-intl
现在你应该可以访问Matomo的网络安装向导http://analytics.example.com,但在输入任何信息之前,让我们启用HTTPS。
启用HTTPS
参见 使用 Django 和 Nginx 搭建个人博客,配置HTTPS 内容:Https 加密的配置。
为了在访问Matomo网页界面时对HTTP流量进行加密,我们可以通过安装Let's Encrypt颁发的免费TLS证书来启用HTTPS。运行以下命令在Ubuntu上安装Let's Encrypt客户端(certbot)。
pip install certbot
然后运行以下命令获取并安装TLS证书:
sudo certbot --nginx --agree-tos --redirect --hsts --staple-ocsp --email you@example.com -d analytics.example.com
在您的网页浏览器中完成安装
前往https://analytics.example.com,启动基于网络的安装向导。根据网页指示,完成安装!大功告成!
 Miraclove